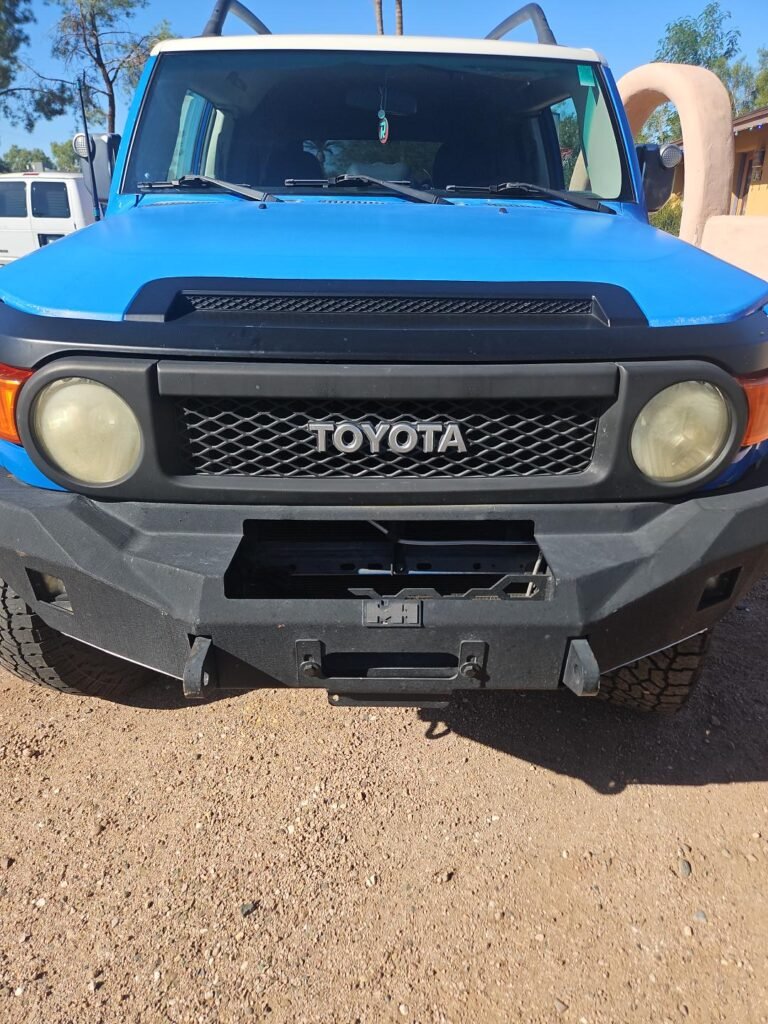
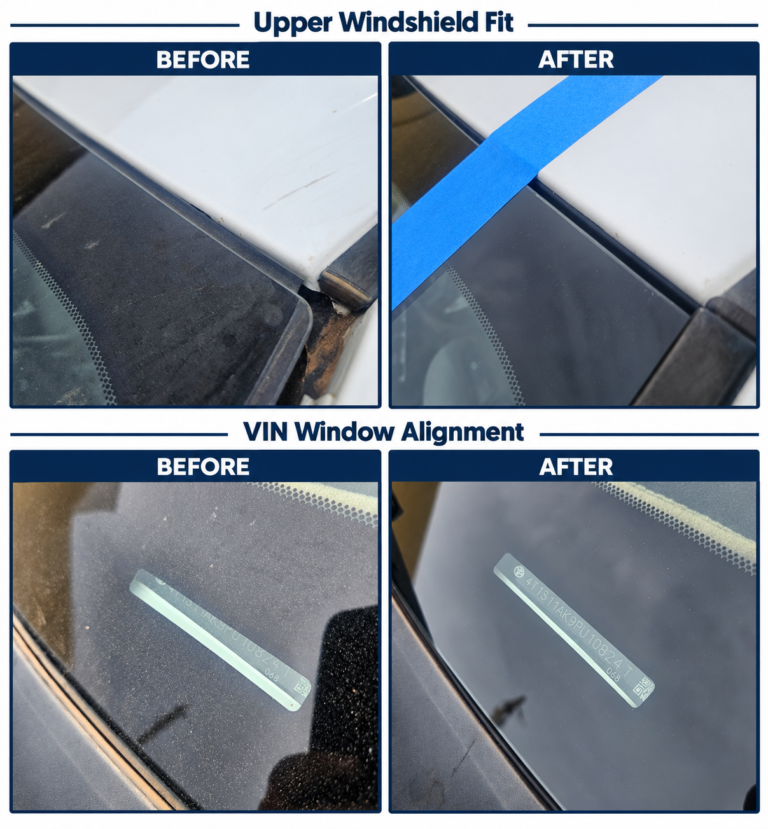
This 2007 Toyota FJ Cruiser windshield replacement in Tempe, Arizona, involved more than replacing the glass. The job included a new OEM upper molding and careful work around the retaining clips, cowl, and surrounding trim—details that matter to the finished fit and appearance.
We photographed the installation along the way to show what goes into the work. The replacement was covered through Auto-Owners Insurance, and the customer received $185 cash back from 1st Shot Auto Glass.
Why the FJ Cruiser’s Moldings and Clips Matter
The FJ Cruiser’s windshield is surrounded by distinctive trim, including an upper molding secured with retaining clips. Replacing the glass means paying attention to those attachments and how the molding fits when everything goes back together.
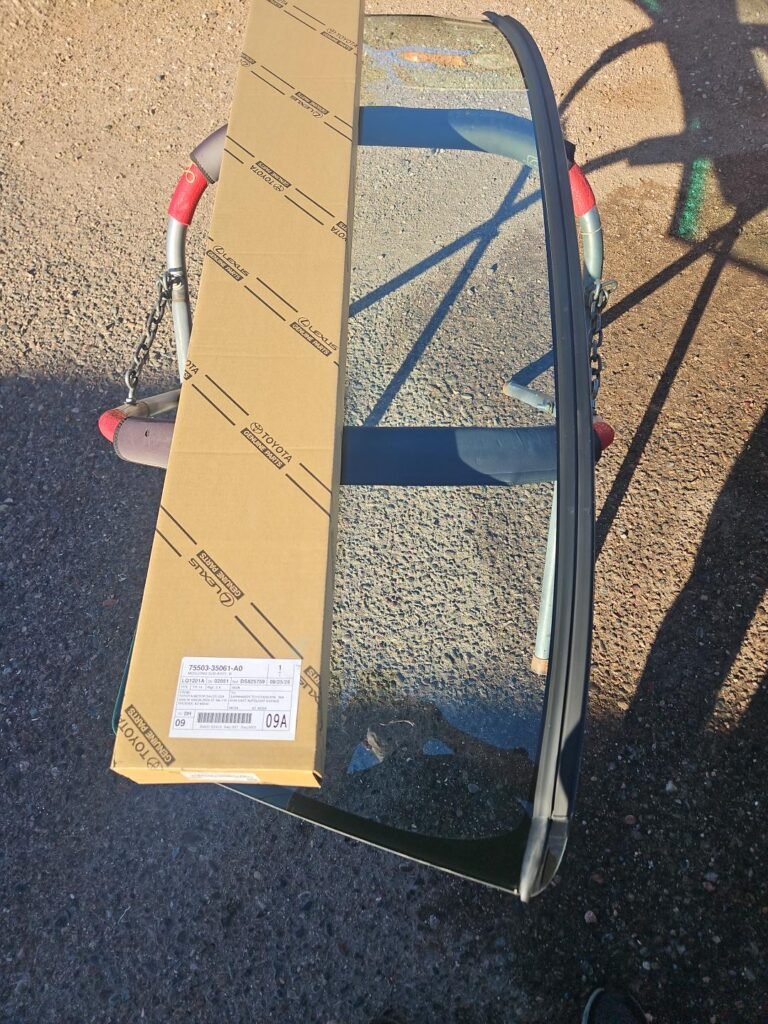
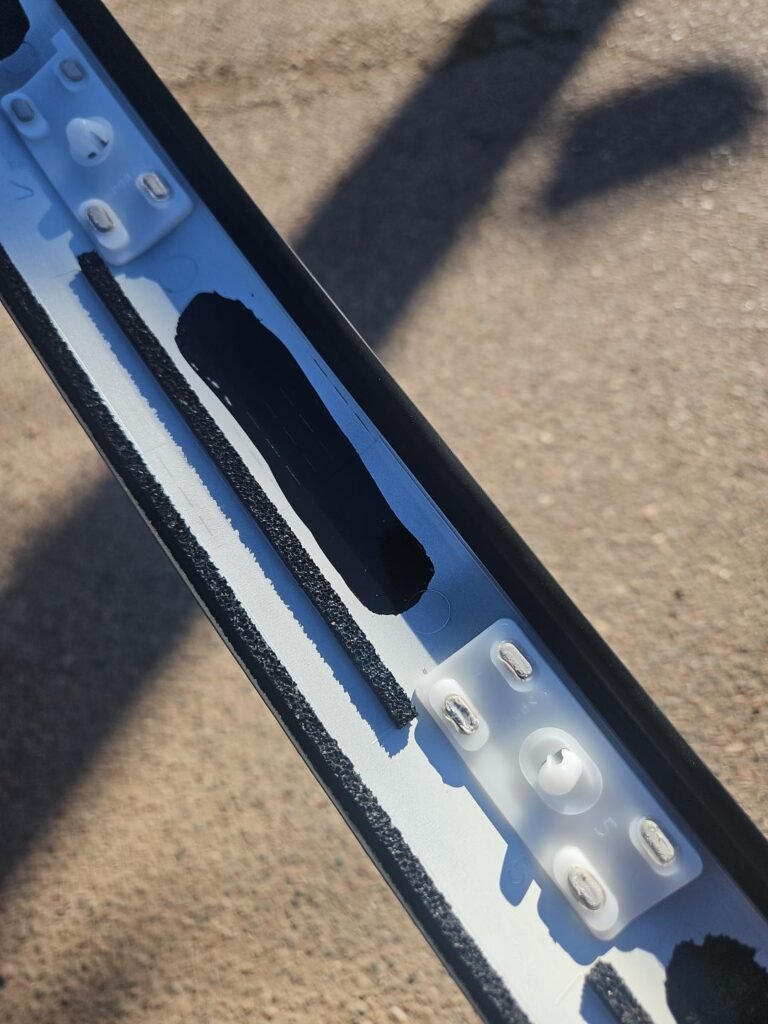
For this job, we installed a new OEM upper molding and documented the clips, preparation, and reassembly. The close-up photos below show details that are easy to miss in a finished vehicle photo.
New OEM upper molding
Upper molding retaining clips
Removing the Antenna Cover and Outer Cowl Clips
We first twisted off the antenna mast, then lifted the cosmetic cover sitting flush around its base. With that cover removed, we released the two outer clips securing the corner cowl panel. Two additional clips on the inner side are shown in the next section.
Lifting the antenna-base cover
Releasing the two outer clips
Replacing the Inner Cowl Corner Clips
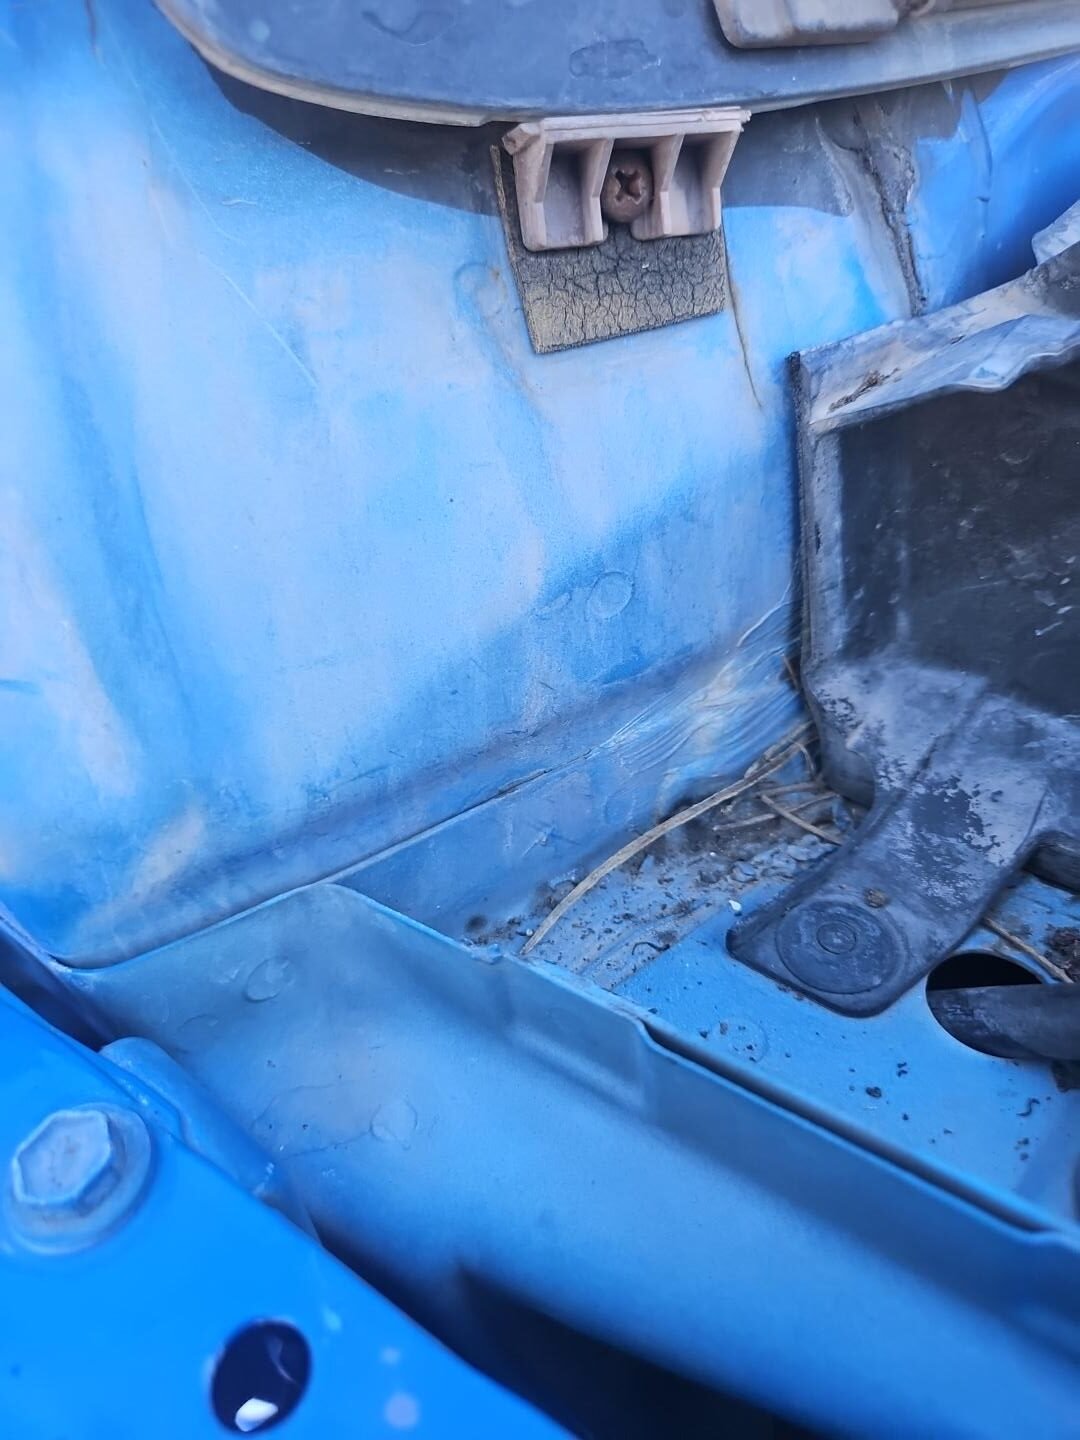
With the corner cowl panel removed, we replaced its two triangular inner clips. These clips slide into slots on the backside of the panel, so their orientation matters during reassembly. The photos show the old clips followed by the replacements. The two front clips released earlier use a different attachment style.
Old inner cowl clips
New inner cowl clips
Removing the Seven-Clip Cowl Panel
After removing the corner panels, we released the seven clips securing the long cowl panel beneath the windshield and lifted it away. Removing this panel provided access to the lower windshield area for the replacement.
Cowl panel removed after releasing seven clips
Removing the Poorly Fitted Upper Molding
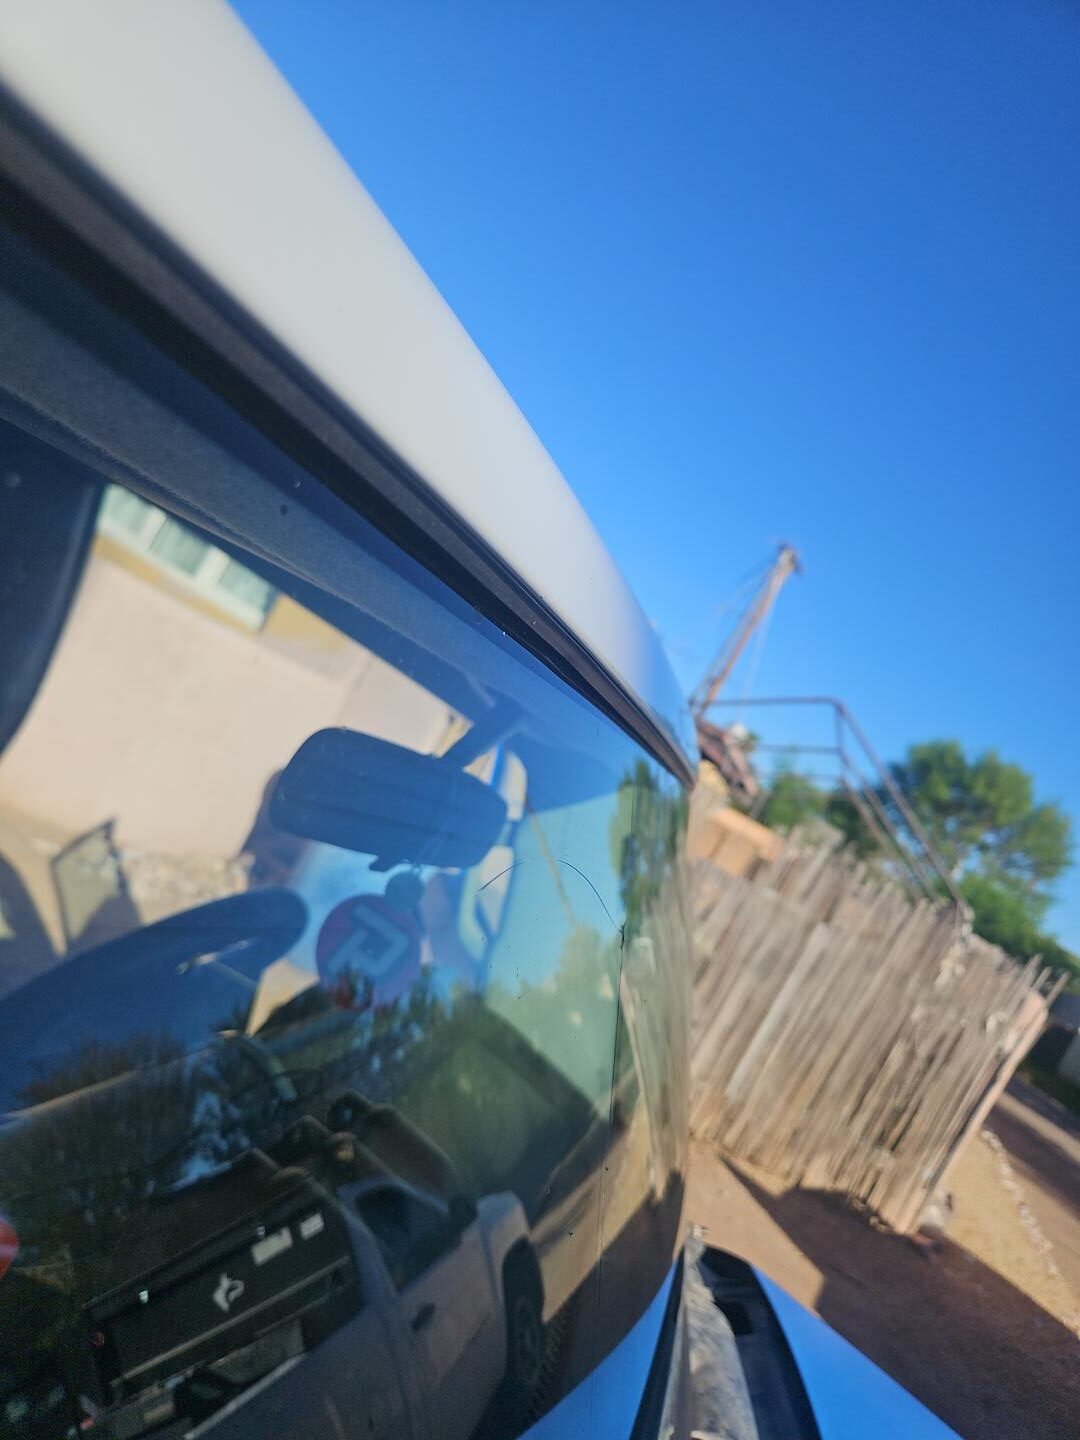
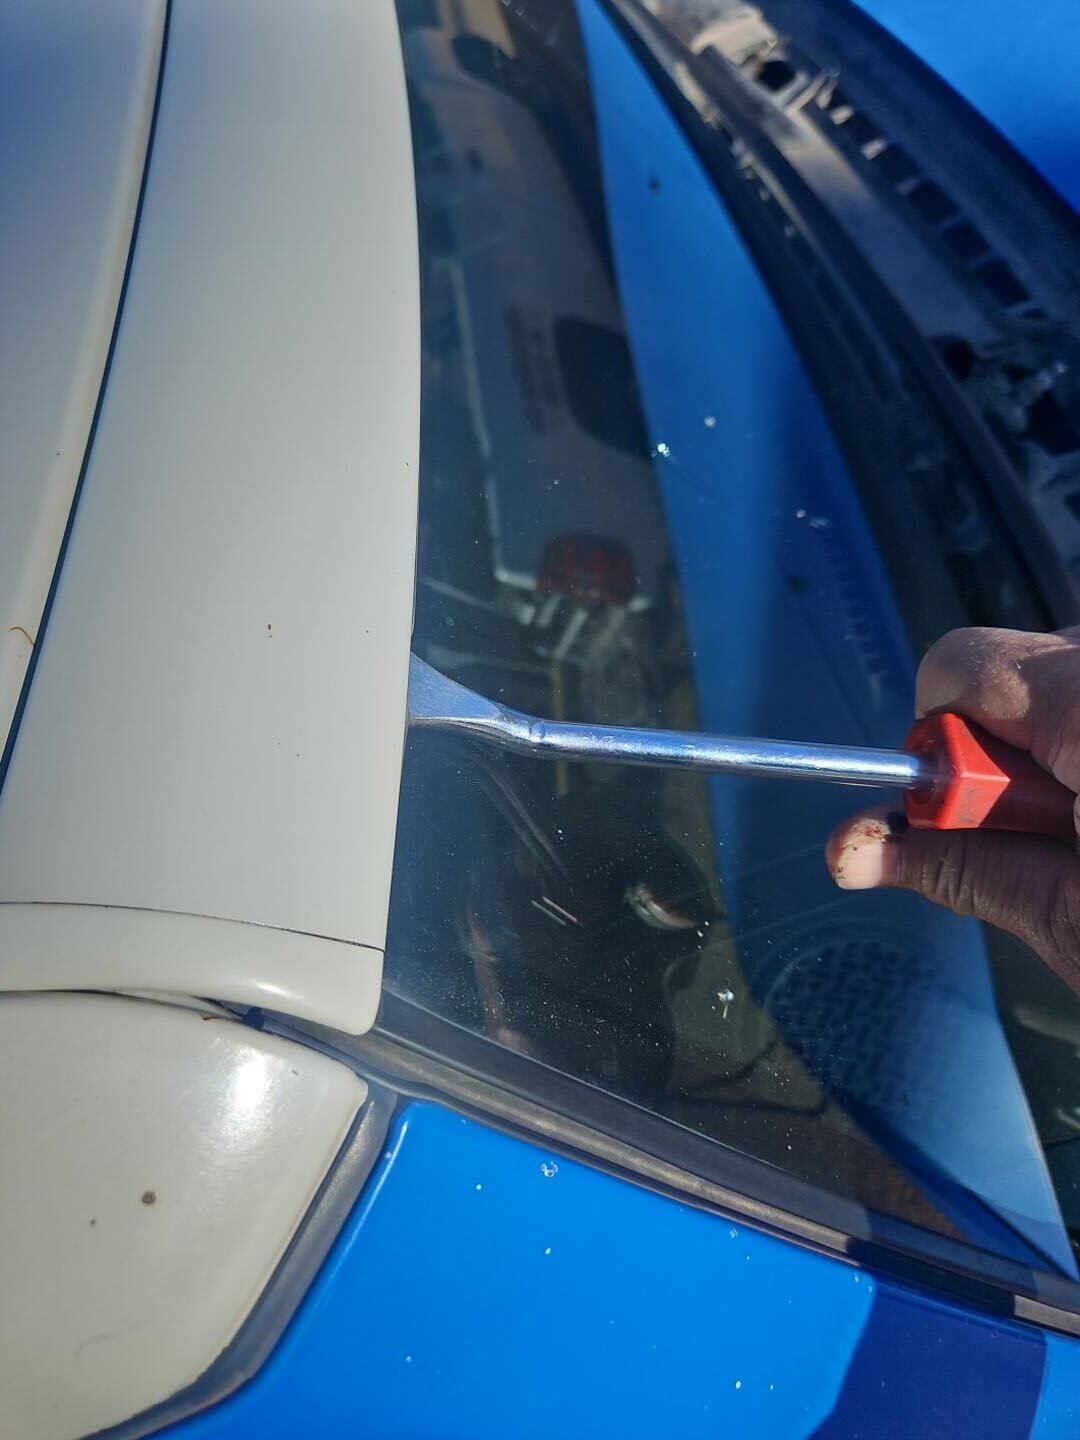
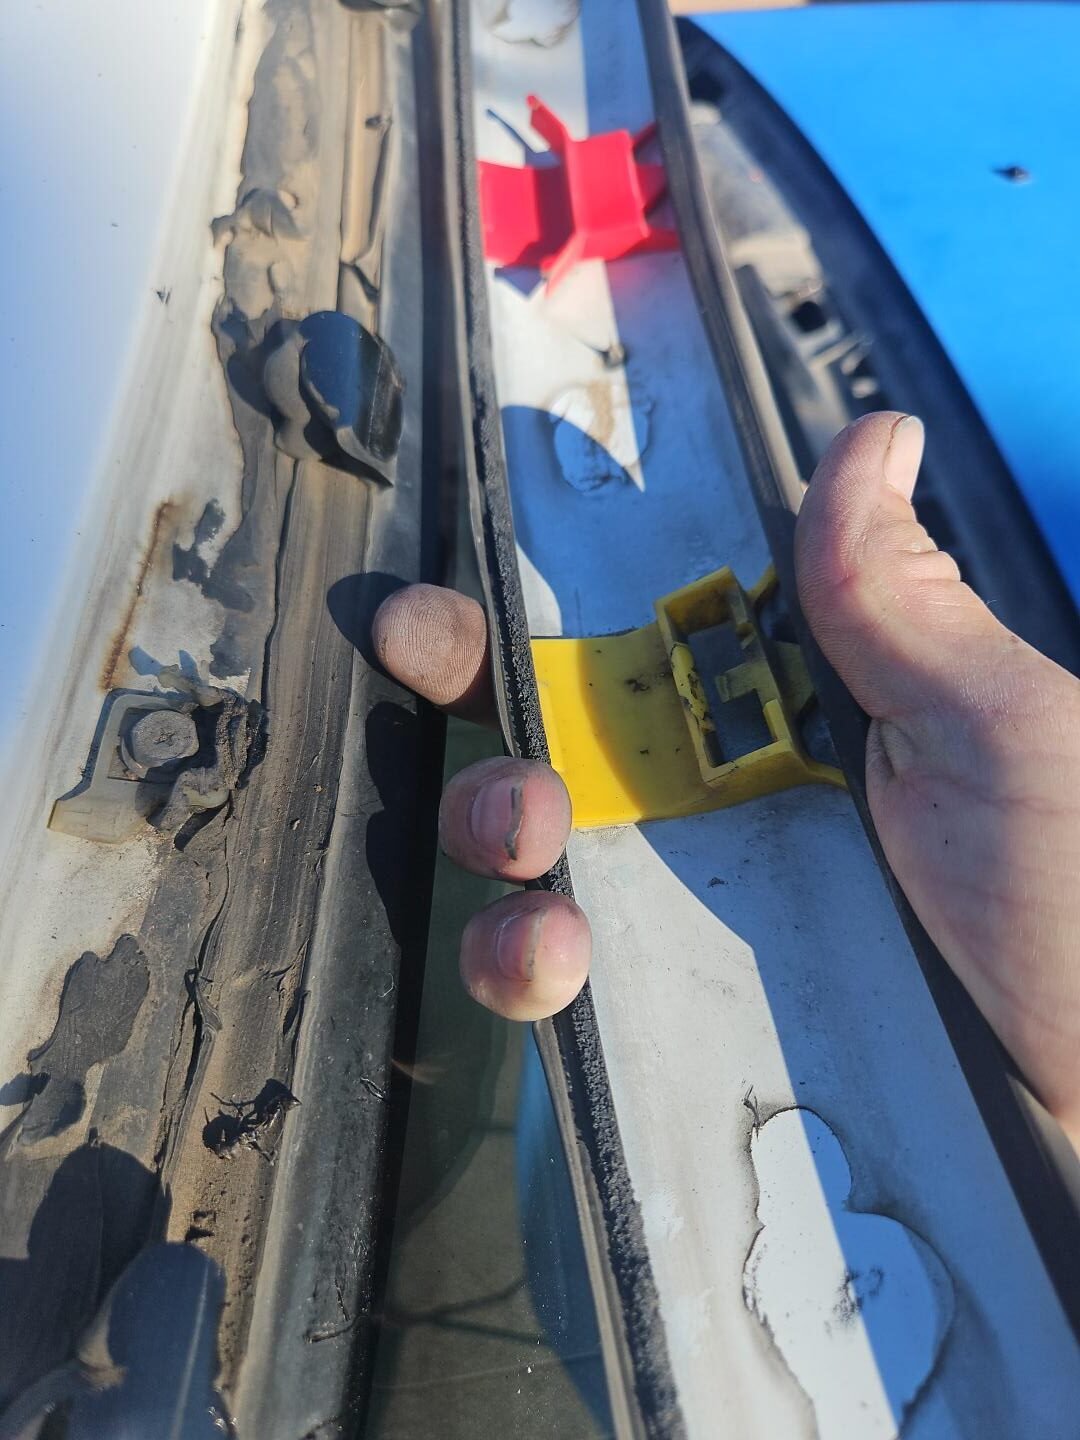
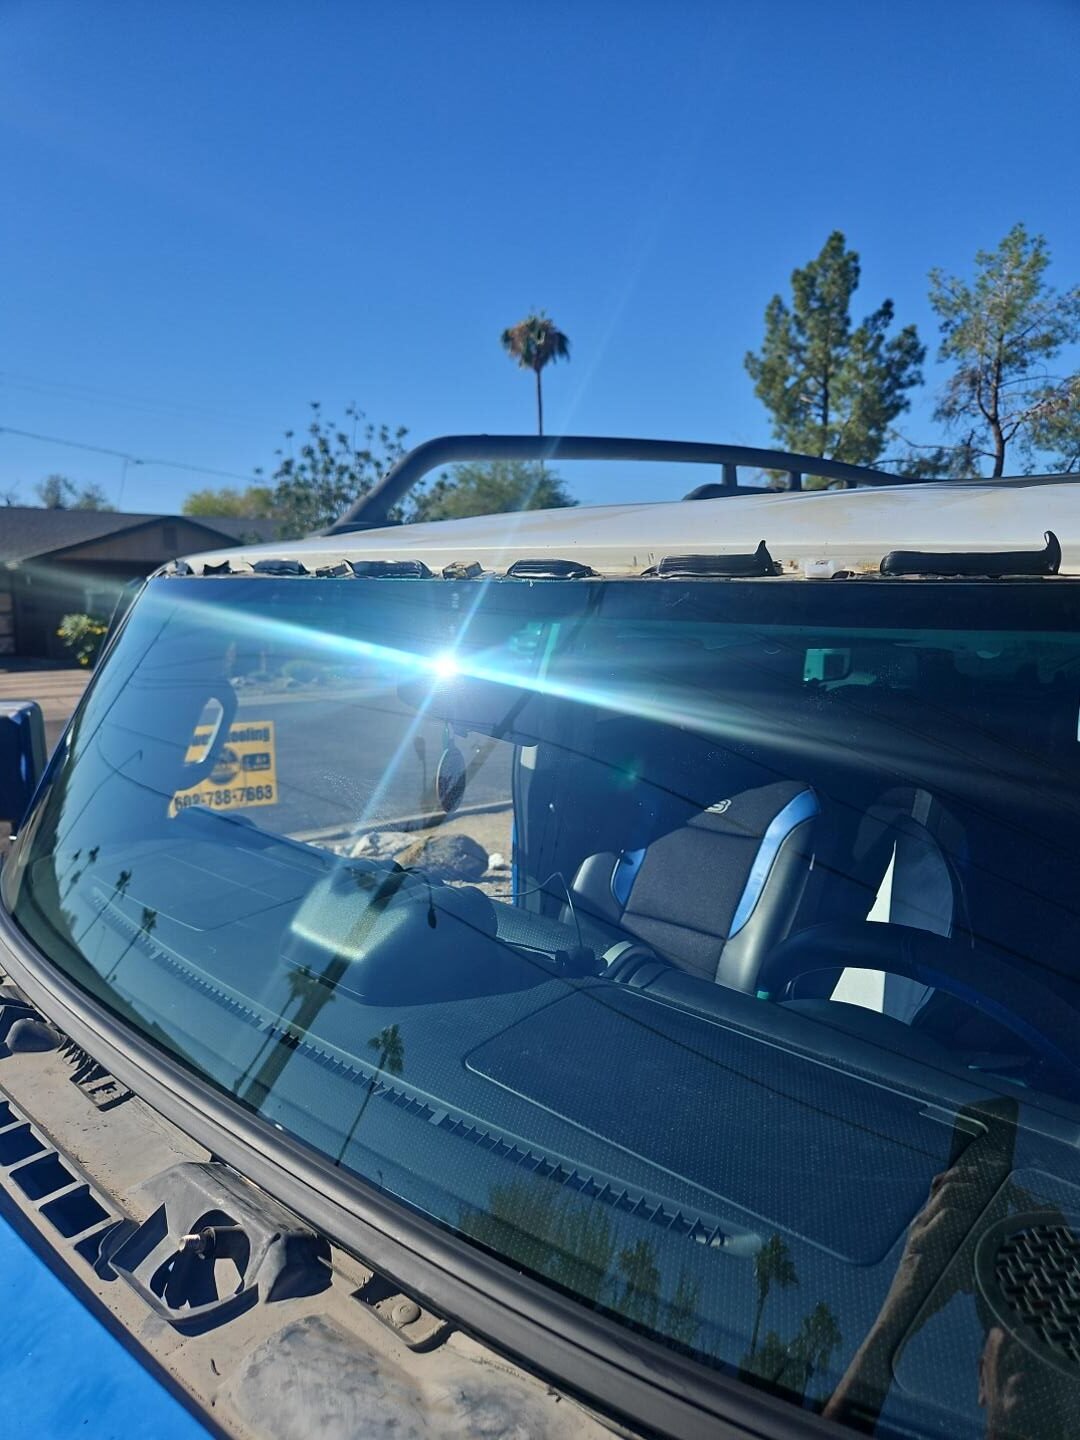
Before removal, the old upper molding was visibly raised away from the windshield. We began by carefully releasing the first retaining clip, then worked across the top.
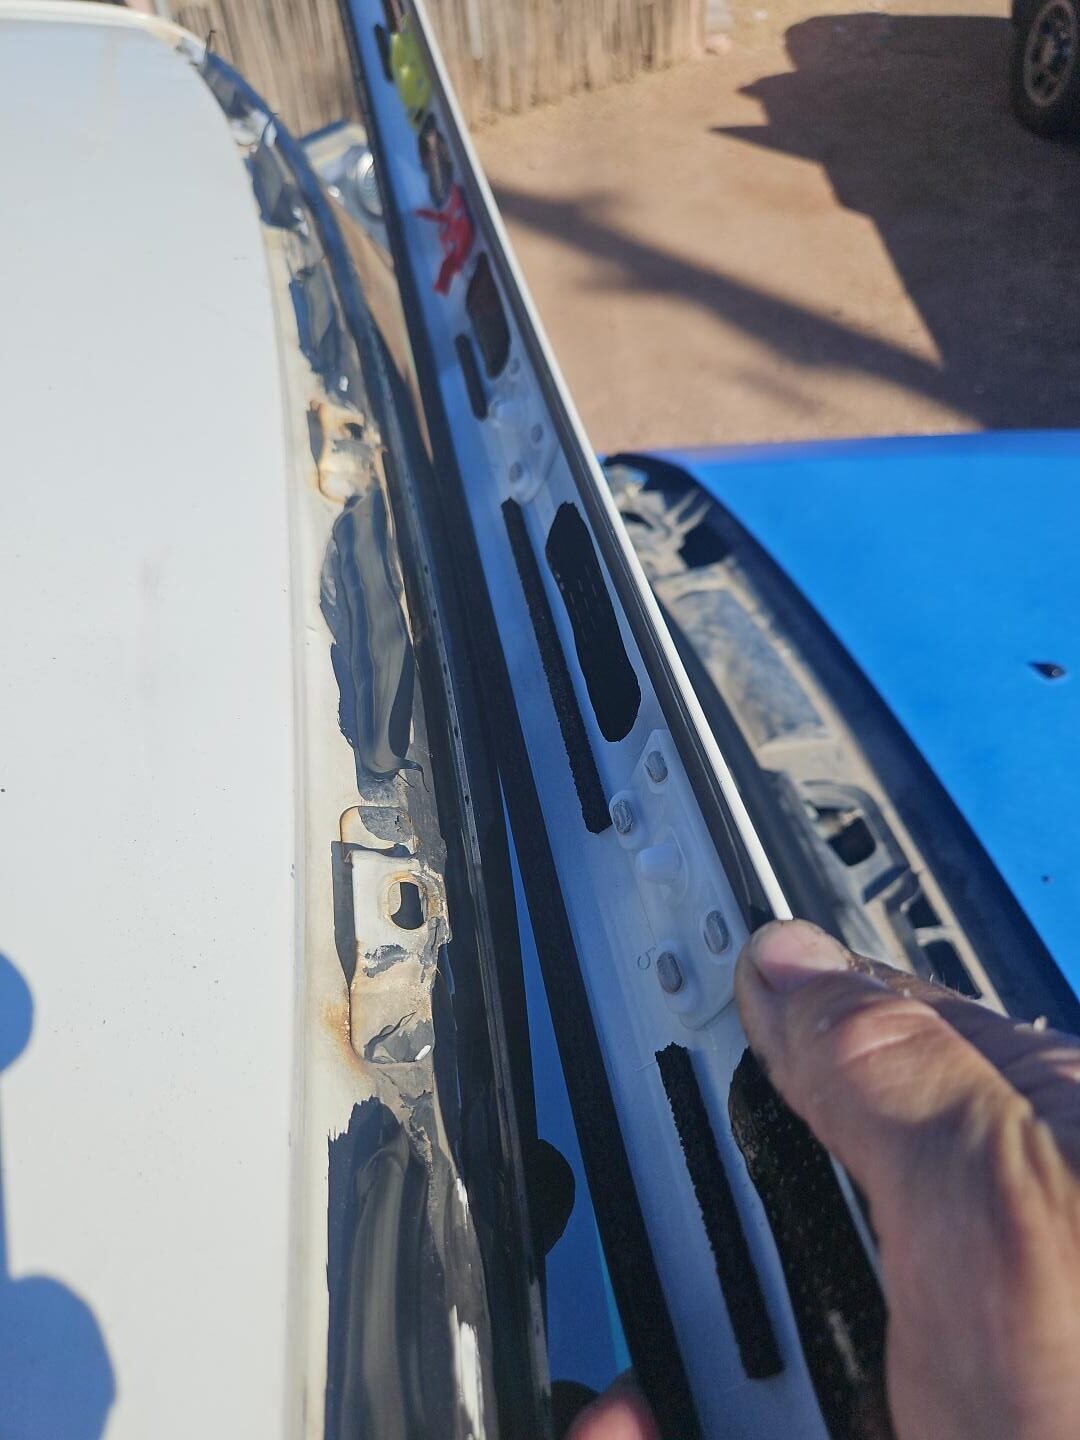
On other FJ Cruiser replacements, we often need to cut through adhesive section by section with an extractor before releasing the next clip. That wasn’t necessary here. Once lifted, the molding revealed adhesive patches that had separated from its underside.
The photos document the gap and failed adhesive, but they don’t establish which product was used or why the bond failed. For this replacement, we used a new OEM upper molding.
Old molding not sitting flush
Releasing the first molding clip
Separated adhesive beneath the old upper molding
New Dealer Retainers and Molding Preparation
We removed the old frame-mounted retainers and fitted new dealer-supplied replacements. These are the attachment points that the upper molding’s clips snap into. Aftermarket replacements weren’t available for this job, and using new retainers gave us added reassurance that the new molding would sit flush.
The retainers were tapped lightly into position so they engaged, then tightened with a Phillips screwdriver or 10mm socket. Tightening expands the portion inside the frame to secure each retainer.
We also applied primer to the designated bonding areas on the underside of the new upper molding before installation.
Removing an old frame retainer
New molding prepared with primer
Supporting the Glass and Seating the New Upper Molding
A windshield stop secured to the frame supported the glass while we completed the upper molding installation. Tape couldn’t be applied over the top until the molding was in place.
As an added precaution, we applied tall, straight adhesive beads at locations matching the primed areas beneath the new molding. We then aligned the center clip with its corresponding opening in the frame, pressed it into place, and worked outward toward the edges to seat the remaining clips.
Stop supporting the windshield
Additional adhesive for molding retention
Aligning the center clip and bonding areas
Reinstalling the Cowl and Corner Panels
With the upper molding seated, we reinstalled the lower cowl, sliding its edge into the molding attached to the windshield before securing its seven clips.
Sliding the cowl into the molding
Cowl seated in the molding
The corner panels required more careful alignment. Their molding has some movement, allowing us to work each panel into position and line up all four clips before pressing it down into place, getting the corner molding behind it first.
Corner panel seated
Corner molding fit
The Finished FJ Cruiser Windshield Replacement
With the new windshield and OEM upper molding installed, the cowl and corner panels were back in place. The finished photos show the trim fit and the view through the replacement glass—details that bring this FJ Cruiser installation together.
Finished windshield from inside the FJ Cruiser
2007 Toyota FJ Cruiser windshield replacement completed in Tempe, AZ.